
How to Program a Garage Door Opener in Chicago: What Your Old Bungalow Garage Actually Needs
Programming a garage door opener depends entirely on which of three systems you have: modern rolling-code units with a colored “Learn” button (post-2011), Security+ 2.0/MyQ smart openers with Wi-Fi pairing, or legacy DIP-switch openers from 1985–2000 that use physical code switches instead of electronic pairing. Most Chicago homeowners with a garage behind their bungalow or two-flat are dealing with the third category — and the national guides that skip DIP-switch programming won’t help you at all. If you’re stuck, call Regal Garage Door Repair Greater Chicago at (833) 895-4082 and Edward will walk you through it or come out same-day.
Which Opener Type Is Hanging Over Your Car?
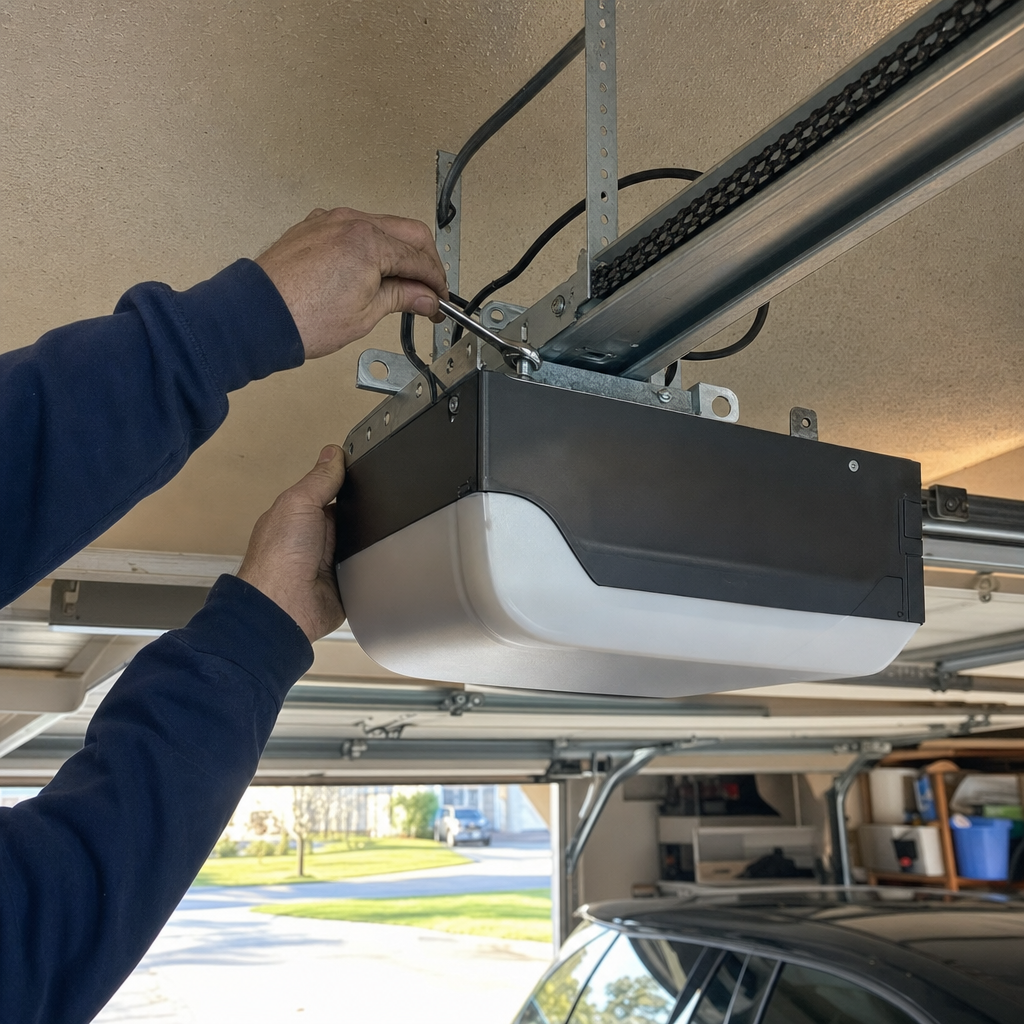
Before you touch anything, figure out what you’re working with. Chicago’s housing stock — brick bungalows from the 1920s–1940s and greystone two-flats from the 1890s–1920s — means a disproportionate number of alley garages still run openers that predate modern rolling-code technology. These aren’t rare antiques; they’re daily drivers that have simply never failed badly enough to replace.
Here’s the one-line identification test for each system:
- Rolling-code (post-2011): Look for a colored “Learn” button on the opener motor head — yellow, purple, red, or orange depending on brand and era. Press it, and an LED lights up for 30 seconds to pair a new remote.
- Security+ 2.0 / MyQ smart opener: Has a yellow Learn button specifically, Wi-Fi connectivity, and pairs through a phone app as well as physical remotes. Common on newer installations in Chicago neighborhoods with recent rehab activity like Logan Square and Humboldt Park.
- DIP-switch (1985–2000): No Learn button anywhere. Instead, you’ll find a row of 8–12 tiny toggle switches under a sliding cover on both the opener motor and the remote. These set a fixed binary code that must match exactly between remote and opener.
In Bridgeport, Avondale, and Jefferson Park — where Chicago’s glacial clay soil has heaved garage slabs asymmetrically for decades — we’ve found DIP-switch Genie and Craftsman units still running in alley garages that haven’t seen a service call since the Clinton administration. The cold truth is that if it isn’t broken, Chicago homeowners don’t replace it, and these openers weren’t built to fail electronically.
Programming a Modern Rolling-Code Opener: The Learn Button Method
If you’ve got a colored Learn button, the process is straightforward — but the button color matters more than most guides admit. Each color corresponds to a different radio frequency and security generation, and mismatched remotes simply won’t pair.
| Brand | Learn Button Color | Era / Frequency | Typical Location |
|---|---|---|---|
| LiftMaster / Chamberlain / Craftsman | Yellow | Security+ 2.0, 2011–present | Side or back of motor head, under light cover |
| LiftMaster / Chamberlain / Craftsman | Purple | Security+ 315 MHz, 2005–2011 | Side of motor head, near antenna wire |
| LiftMaster / Chamberlain / Craftsman | Red/Orange | Security+ 390 MHz, 1993–2005 | Side of motor head, often recessed |
| Genie | Blue | Intellicode, various eras | Behind light lens or on side panel |
| Raynor | Matches LiftMaster color | OEM LiftMaster platform | Same as corresponding LiftMaster |
The actual programming steps:
- Clear the opener’s memory if you’re starting fresh or suspect a lost remote is compromised — hold the Learn button for 6 seconds until the LED goes out. This erases all paired remotes.
- Press and release the Learn button once. The LED will glow steadily for 30 seconds.
- Within that window, press and hold the button on your remote that you want to program. The opener light will flash or you’ll hear two clicks — that’s the confirmation.
- Test immediately. If the door doesn’t move, you may have a frequency mismatch or a remote built for a different color/generation.
Here’s something national guides miss: after a garage door opener power outage in Chicago, especially the brief brownouts that hit during summer storms off Lake Michigan, Chamberlain and LiftMaster rolling-code units can lose sync with their remotes even though the opener itself powers back on fine. The remote isn’t dead — the code sequence has simply jumped ahead on one side and not the other. Re-pairing through the Learn button fixes this instantly; replacing the battery doesn’t. Edward hears this misdiagnosis at least twice a month from homeowners who’ve already spent $8 on a battery they didn’t need.
Programming a DIP-Switch Opener: The Guide National Articles Skip
If you’re staring at a row of tiny white or black toggles instead of a Learn button, you’re in DIP-switch territory. This is where generic “how to program garage door opener” content completely fails Chicago’s older housing stock. We work on Craftsman, Genie, and early Raynor units in this configuration regularly — they’re still common in Portage Park, Austin, and Belmont Cragin, where garage renovations lag behind interior rehabs.
The programming process is mechanical, not electronic:
- Locate the DIP-switch block on the opener motor head — usually under a sliding cover near where the antenna wire exits. Note the exact position of every switch: up or down. There are typically 8, 9, or 12 switches.
- Open your remote control and find its matching DIP-switch block. Some remotes have a second set of switches; these are for multi-door operation and should match the primary set unless you’re deliberately programming a different door.
- Using a small screwdriver or pen tip, set every switch on the remote to exactly match the opener’s pattern. Up matches up, down matches down. One switch out of position and nothing happens — there’s no error code, no flashing light, just silence.
- Close both covers and test. The pairing is instantaneous; there’s no “learning” period.
A critical detail: DIP-switch openers have no security. Anyone with a compatible remote set to your code can open your door. In Chicago’s dense alley environment — where your garage sits 15 feet from your neighbor’s and foot traffic passes constantly — this is a genuine vulnerability that rolling-code technology eliminated. If you’re still running a DIP-switch unit, consider that the security upgrade, not the convenience upgrade, is the real reason to replace it.
Replacement cost for a modern opener in Chicago runs $250–$550 for installation, depending on horsepower, rail length for your door height, and whether you need a jackshaft model for minimal headroom clearance — common in those 1920s bungalows with low headers.
When Programming Isn’t the Problem: RF Signal Issues in Alley Garages
Here’s a scenario Edward sees constantly: remote is programmed correctly, battery is fresh, but range is terrible — works from inside the car in the alley, won’t trigger from the street, or requires standing directly beneath the opener. Homeowners blame the remote and buy replacements that behave identically.
The actual culprit is usually RF attenuation in the garage structure itself. Chicago’s detached alley garages are typically single-course brick or frame construction with metal door panels, often with the opener mounted against a metal support bracket. The metal surrounding the opener acts as a partial Faraday cage, weakening the signal that reaches outside. Lake Michigan’s sustained easterly winds don’t help — we’ve seen antenna wires whip against metal framing until the insulation frays and the effective radiating length changes.
The fix is often simpler than replacement: locate the thin antenna wire hanging from the opener motor head (usually 6–12 inches of stranded wire with a plastic tip). Reposition it to hang free of any metal bracket, away from the motor housing, and ideally toward the garage door opening rather than the back wall. Even a 6-inch reposition can transform a “bad remote” into one that works from fifty feet. We’ve solved this exact issue in garages from Edison Park to Hyde Park without touching the opener’s programming at all.
If repositioning doesn’t help, the antenna wire itself may be damaged internally — we replace these for $120–$320 as part of an opener repair, or include it in a full home service assessment.
MyQ and Smart Opener Pairing: When the App Won’t Connect
Newer Chicago rehabs, especially in neighborhoods with significant flip activity like Ukrainian Village and parts of Bronzeville, increasingly feature MyQ-enabled or Wi-Fi-native openers. The pairing process is app-dependent, but the failure mode is consistent: the opener connects to 2.4 GHz home Wi-Fi, and Chicago’s dense residential blocks mean channel congestion from neighboring networks.
If your MyQ app stalls at “connecting to opener,” try this before calling:
- Force your phone to 2.4 GHz temporarily (disable 5 GHz band steering in your router, or walk far enough from the router that 5 GHz drops)
- Pair within 10 feet of the opener — the Wi-Fi chip in these units has limited range
- Check that your home Wi-Fi password doesn’t contain special characters that confuse the opener’s parser (yes, really — we’ve seen this on Chamberlain units)
When the app pairs successfully but the door status shows “unknown” or commands lag by 30+ seconds, the opener’s cloud connection is struggling, not the local Wi-Fi. This is a server-side issue Chamberlain/MyQ experiences periodically; there’s no local fix, but it’s worth knowing before you schedule a service call for a non-existent hardware problem.
When to Stop Troubleshooting and Call Edward
Some programming failures indicate hardware problems no amount of button-pressing will solve. Call (833) 895-4082 if you encounter any of the following:
- The Learn button LED doesn’t light at all when pressed — indicates logic board failure, common after power surges
- DIP-switch remote works intermittently despite correct matching — worn switch contacts in either remote or opener, or corrosion from Chicago’s freeze-thaw humidity cycles
- Opener responds to wall button but no remote ever pairs — failed radio receiver, a $120–$320 repair depending on whether the receiver is standalone or integrated into the logic board
- Programming succeeds but the door reverses immediately — safety sensor misalignment, not a programming issue at all
Edward handles these diagnostics personally — not a subcontracted tech, not a dispatcher reading from a script. “Tell me what it’s doing and I’ll tell you exactly what’s wrong — no guessing, no upselling.” That’s the standard we’ve kept for eight years, through 365 customer reviews and counting.
What Programming Help Costs If You Need a Pro
Most programming issues we resolve in a single visit without parts. Here’s the pricing landscape for Chicago:
| Service | Price Range | Typical Scenario |
|---|---|---|
| Remote programming / re-pairing | $120–$180 | Rolling-code resync, additional remote added |
| DIP-switch remote match + test | $120–$160 | Legacy opener, remote replacement or code reset |
| Opener repair (antenna, receiver, logic board) | $120–$320 | RF issues, failed Learn button, storm damage |
| Opener installation (new unit) | $250–$550 | Replacement of failed or obsolete opener |
Emergency service is available — when your door won’t move at 10 p.m. and your car is trapped inside, that’s not an upsell situation, it’s a recognized need this business is built to handle. We’ve responded to calls across the Greater Chicago area on every night of the year.
FAQs
Professional remote programming or re-pairing in Chicago typically costs $120–$180 for a standard visit. If the opener itself needs repair — failed logic board, damaged receiver, or antenna replacement — expect $120–$320. Full opener replacement runs $250–$550 installed. Call (833) 895-4082 for an exact quote; estimates are free.
On Chamberlain, LiftMaster, and Craftsman rolling-code openers, the remote and opener can fall out of sync when power fluctuates — the code sequence advances on one side but not the other. Re-pair the remote through the Learn button; don’t waste money on a battery you don’t need. If re-pairing fails, the logic board may have surge damage. Call (833) 895-4082 and we’ll diagnose it directly.
Yes — if you have a DIP-switch opener from 1985–2000, there’s no Learn button to press. Match the physical switch positions between the opener motor and the remote exactly, using a pen or small screwdriver. These units are still common in Chicago’s older bungalow and two-flat garages. If the switches are corroded or the remote won’t hold position, replacement or repair is your path forward.
This usually indicates RF signal attenuation, not a programming error. In Chicago’s metal-framed alley garages, the opener’s antenna wire may be contacting metal brackets or positioned away from the door opening. Repositioning the antenna wire — even 6 inches — often restores normal range instantly. If that doesn’t solve it, the antenna or receiver may need replacement; we handle this for $120–$320.
If you’d rather have it looked at, Regal Garage Door Repair Greater Chicago offers a no-pressure assessment in Chicago — call (833) 895-4082.
Written by Edward Campbell, Owner & Lead Technician at Regal Garage Door Repair Greater Chicago, serving Chicago, IL.